How to set LiveScope for Bass Fishing: Forward Facing Sonar Settings for a Clear Screen and Seeing Bass

Achieving a clean, readable LiveScope Forward-Facing Sonar (FFS) display is essential for identifying fish, tracking your lure, and catching fish. Let’s dive into some proven settings that will help you get dialed in, so you’re casting and catching instead of tweaking electronics on the water.
While dialed-in settings are important, anglers should also consider a few critical hardware and rigging factors to get the most out of any FFS unit.
3 Key Factors Beyond Forward Facing Sonar Settings
1. Are You Using a Lure That Can Show Up on LiveScope?
While I’m not a scientist, I’ve spoken with a few who understand the nitty gritty tech behind FFS and the lure itself is one of the biggest variables in whether you see it clearly on FFS.
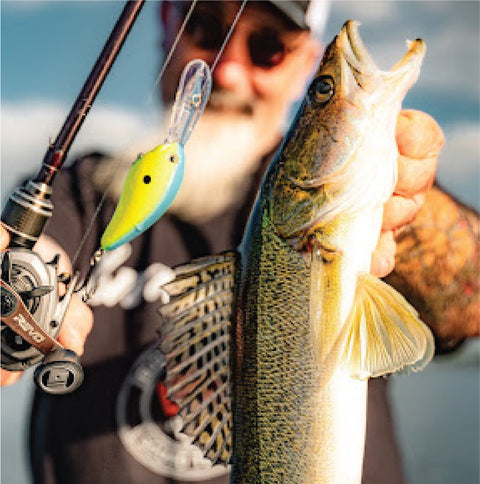
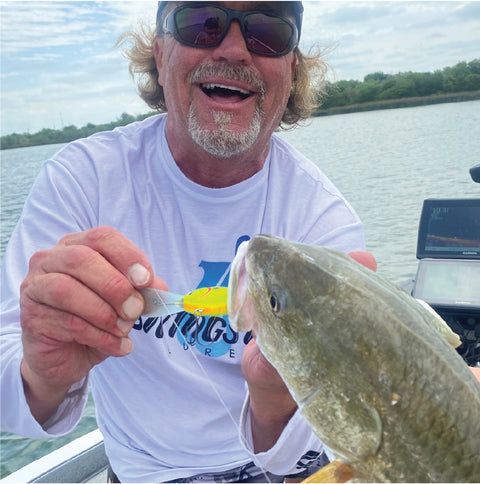
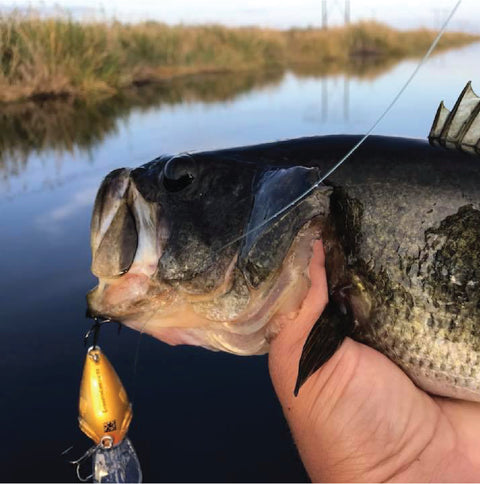
Livingston Lures is the only company whose entire product line is optimized for forward-facing sonar. They seem almost magical in how clearly they appear on screen. Livingston’s Forward Facing Sonar optimized lures show up on the screen clearer and brighter than lures even twice or three times their size, so there is definitely something under the hood that influences clarity.

2. Are You Running the Right Battery?
Believe it or not, the battery powering your LiveScope unit can drastically impact clarity. I highly recommend lithium batteries, which provide a stable, constant voltage. Clean, consistent power is critical for sharp sonar performance—especially in cold weather or over long fishing sessions.
3. Is Your Transducer Properly Mounted?
Transducer angle and mounting matter more than most anglers realize. Even a slight misalignment can distort what you’re seeing. Take time to properly install, adjust, and test your mount to ensure you’re reading the water accurately.

Initial Setup: LiveScope Clarity Starts Here
1. Gain
Start around 65% gain. This provides a clear view of your bait without overwhelming the screen with noise. Fine-tune as needed—for example, drop from 68% to 66% if your bait is too bright or hard to distinguish. The goal: make lures and fish targets pop without adding clutter.
2. Depth
Set the depth so the bottom appears just above the bottom edge of the screen. This framing leaves room for onscreen controls and a full column view.
3. Color Scheme
Use the blue palette for fast object recognition. While amber may offer more detail, blue helps you quickly spot movement, targets, and structure—ideal for reaction-based fishing.
4. Color Gain
Set color gain between 95% and 100%, often maxing it out. This allows you to reduce overall gain while keeping baits visible. Lowering color gain (e.g., to 50%) dims returns and requires bumping up your main gain setting to compensate.
5. Trails
Turn trails off. These pink lines behind moving objects can create excessive clutter, especially when bugs or particles drift through the water column.
6. Bottom Fill
Disable bottom fill. This setting can mask fish close to bottom or give false bottom readings especially on hard or uneven structure.
7. Grid Overlay
Keep the grid off. In most open-water and vertical jigging scenarios, precise distance markers add little value and only clutter the view.
8. Scroll History & Onscreen Controls
-
Scroll history: Turn it off, there’s little benefit when fishing in real-time.
-
Onscreen controls: Keep visible for quick access to your key adjustments like gain or range.
9. Noise Reject
Set noise reject to high to clean up background clutter. In ultra-clear water, lowering noise reject can increase target sensitivity and reduce dead zones. If you are consistently fishing one body of water you can set it and forget it unless water conditions and clarity change.
10. Time Varying Gain (TVG)
Set TVG to low. This reduces noise near the transducer but still allows strong returns from deeper targets. Turning TVG off may introduce excess noise up top, while a high setting can mask jigs close to the transducer.

Live Adjustments: Adapting Throughout the Day
As you move across different spots or as on-the-water conditions change, fine-tune these key settings to stay locked in on your target species.
1. Gain
Expect to adjust gain frequently, even 5–10 times per hour. Sunlight, depth, and bottom composition can all influence clarity. Use onscreen controls to adjust quickly.
2. Noise Reject
In calm, clear water, reduce noise reject to uncover soft returns and eliminate dead spots caused by over-filtering.
3. Color Gain
Fishing near weeds or rock? Lower color gain to 95% or even 90% to prevent the entire bottom from showing as one big red blob. This makes it easier to see fish or bait that’s tight to structure.

On the Water:
These LiveScope settings and hardware considerations give you a reliable, high-performing baseline for forward-facing sonar, whether you’re fishing open water, hardwater, shallow flats, or suspended structure.
Keep tweaking and adjusting based on your waterbody, fish depth, and conditions. And remember: what you’re throwing—and how you’re powering your unit—matters just as much as how you’ve got it dialed in.
And above all else, if you want to get the most out of your Forward Facing Sonar, get lures that are made for it—your dad’s old tackle box isn’t gonna cut it.
For more tips on sonar use, ice fishing techniques, and FFS-optimized lures, check out LivingstonLures.com.


